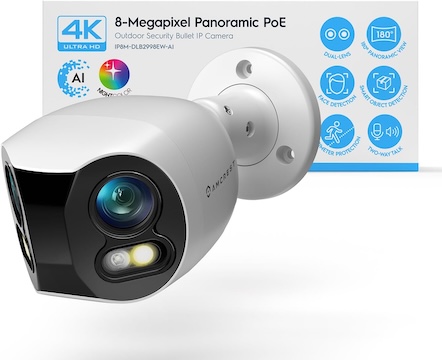
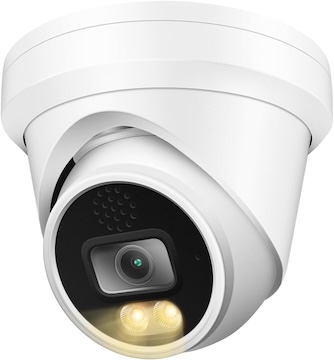
Night Vision Not Working? A Guide to Self-Inspection and Repair

1.First Checks: Make Sure Night Vision Isn’t Working, and Rule Out Easy Fixes Check If Night Vision Turns On
Start by seeing if the camera switches to night mode like it should. Put your finger over the light sensor (it’s usually a small circle near the lens). If the little red IR lights around the lens don’t come on within 10 seconds, the problem is probably with the hardware. Take a look at the app settings too—some models have a “manual night mode” switch that might be off by accident, or a schedule that’s stopping it from turning on automatically.
Example: One user noticed their camera’s night vision only worked now and then. It turned out a messed-up “geofencing” setting was turning off night mode when they were home. Fixing the schedule made it work again.
Test in a Dark Room
Bad lighting can make it seem like night vision isn’t working. Try testing in a totally dark room (no windows or other lights). If the video is completely black, with no shapes at all, the IR lights are probably broken. If there’s a faint gray image but it’s not clear, the issue might be weak IR lights or a dirty lens (that’s pretty common—check Section 2).
Check the Power
IR lights need steady power to work. For wired cameras, look at the power adapter: loose plugs or damaged cords can lower the voltage, which stops the IR lights from turning on. Wireless cameras with rechargeable batteries might not trigger night vision if the battery is below 20%—charge it all the way and test again.

2. IR Light Fault Identification: Pinpoint the Source of the Problem
Inspect IR LEDs for Physical Damage
Examine the IR lights around the camera lens for visible issues:
· Burned-out LEDs: Look for blackened or discolored diodes—these are likely non-functional.
· Loose Connections: Gently wiggle the LED array (if accessible) to check for loose wiring (common in older cameras).
· Obstructions: Dust, spiderwebs, or condensation on the LED cover can block IR light. Even a thin layer of grime reduces night vision range by up to 50%.
Test IR Light Output with a Smartphone Camera
Most smartphone cameras can “see” IR light (human eyes cannot). Open your phone’s camera app and point it at the security camera in a dark room. If the IR LEDs glow bright red on your phone screen but the security footage remains dark, the issue is with the camera’s IR sensor (not the LEDs). If no red glow appears, the LEDs themselves are faulty.
Check for Firmware or App Glitches
Outdated software can disrupt IR functionality. Navigate to the camera’s app settings and install the latest firmware update—manufacturers often release patches for night vision bugs. For example, a 2024 update for a popular brand fixed a bug where IR lights failed after 10 PM due to a time-zone misalignment.
3.Fixing Things: Finding Common IR Light Problems
Clean the IR Parts and Clear Blockages
If the IR lights are blocked:
·Use a dry microfiber cloth to wipe the LED cover and lens—don’t use liquids, as they might seep into the camera.
·In damp rooms (like bathrooms), moisture can build up inside the lens case. Turn the camera off, take out the battery if it’s wireless, and leave it in a dry spot for a day. Put it back together and test again.
·For stuck-on gunk (like pet hair wrapped around the LEDs), use a soft-bristled toothbrush to gently brush it away.
Replacing Bad IR LEDs (For Those Who Like Fixing Stuff)
If the LEDs are burned out and the camera’s no longer under warranty, you can find replacement kits online for most models. You’ll need a small screwdriver set, a soldering iron, and new IR LEDs (make sure they match your camera’s voltage and wattage). Here’s how:
·Turn the camera off and take apart the case (check the manufacturer’s manual for help).
·Desolder the bad LEDs (you can spot them by discoloration) and solder the new ones in their place.
·Put it back together and test it in a dark room.
Note: Doing this will probably void your warranty—only try it if you’re comfy working with electronics.
Tweaking Settings to Make IR Wo
·Narrow the camera’s field of view in the app—this focuses the IR light, making things clearer at a distance.
·Turn on “IR boost” mode (some brands have this in advanced settings) to make the LEDs brighter (just note that this might drain the battery faster in wireless models).
·Move the camera away from shiny surfaces (like mirrors or glass tables) that bounce IR light and cause glare

4. Prevention: Maintain IR Lights for Long-Term Reliability
Schedule Regular Cleaning
Dust accumulates on IR LEDs over time, gradually reducing effectiveness. Clean the lens and LED cover every 3–4 weeks with a microfiber cloth, especially in dusty areas (near vents, fireplaces) or homes with pets.
Protect Cameras from Extreme Temperatures
IR LEDs are sensitive to heat. Avoid mounting cameras near heat sources (e.g., radiators, ovens) as prolonged exposure can burn out LEDs. In cold rooms, condensation from temperature fluctuations can damage wiring—use a heated camera housing in uninsulated spaces.
Invest in Quality Replacement Parts
If DIY repair is needed, choose OEM (original equipment manufacturer) IR LEDs over generic alternatives—they’re calibrated to match your camera’s hardware and last longer.
Final Take:
- Night vision failure is rarely a death sentence for your security camera.
- You can restore 24/7 monitoring without costly replacements by systematically checking for activation issues, cleaning components, and addressing faulty LEDs.
- Regular maintenance not only keeps IR lights working.
- Regular maintenance ensures your camera remains a reliable guardian.
- The camera can track nighttime activity.
- The camera can safeguard your home during power outages.

